Method for capturing detailed wide-angle images of insects using handheld equipment
In the world of photography, macro and astrophotography specialist Nigel A Ball, a long-time Nikon user and photography educator, prefers calm conditions for photographing delicate subjects like flowers or grass stems. This article, originally published in N-Photo: The Nikon Magazine (issue 168), offers a step-by-step guide on shooting wide-angle close-ups with a strong focus on composition, background, depth of field, taking the shot, and post-processing.
1. Composition and Background
With wide-angle close-ups, the background becomes an essential storytelling element due to the wide field of view. Compose by placing your subject prominently in the foreground while carefully considering the background elements to add context and narrative. Scout the location and learn your subject’s habitat to find meaningful backgrounds. Use test shots to evaluate how foreground and background interact, and choose angles that enrich the story. Aperture settings between f/8 and f/22 are recommended to balance subject sharpness and background detail.
2. Depth of Field
Wide-angle lenses naturally provide deeper depth of field, but shooting close-ups reduces it. Use smaller apertures like f/8 to f/22 to maximize depth of field, keeping both your close subject and important background elements sharp. This preserves environmental context in the shot.
3. Taking the Shot with Nikon Z8 and Laowa 15mm f/4
Handheld shooting is possible thanks to the Laowa 15mm’s macro capability and Nikon Z8’s in-body image stabilization. Get physically close to your subject to fill the frame with it. Use the Nikon Z8’s high-resolution sensor to capture fine detail and facilitate cropping if needed. Consider continuous autofocus with face or subject detection to keep the subject sharply focused. Evaluate lighting carefully; use natural light or add a subtle reflector or diffused light source to highlight textures without harsh shadows.
4. Post-Processing Workflow with DxO PureRAW, Lightroom, and Photoshop
- First, process RAW files through DxO PureRAW to enhance noise reduction and lens corrections automatically, optimizing sharpness and detail, especially important in close-ups.
- Import the corrected RAWs into Adobe Lightroom for further adjustments: fine-tune exposure, contrast, white balance, clarity, and selectively enhance the subject by adjusting local brush or radial filters to emphasize subject-background separation if needed.
- Use Lightroom’s masking tools to refine background blur slightly if required, but preserve the environmental context.
- For more detailed retouching, Photoshop can be used to remove distractions in the background, refine edges, or enhance textures selectively with dodge and burn techniques. Also, Photoshop’s frequency separation can improve subject detail without affecting background smoothness.
This approach leverages the Laowa 15mm’s macro and wide-angle attributes, Nikon Z8’s image quality and stabilization, and powerful post-processing tools, creating close-ups that are both detailed and contextual with compelling composition and depth.
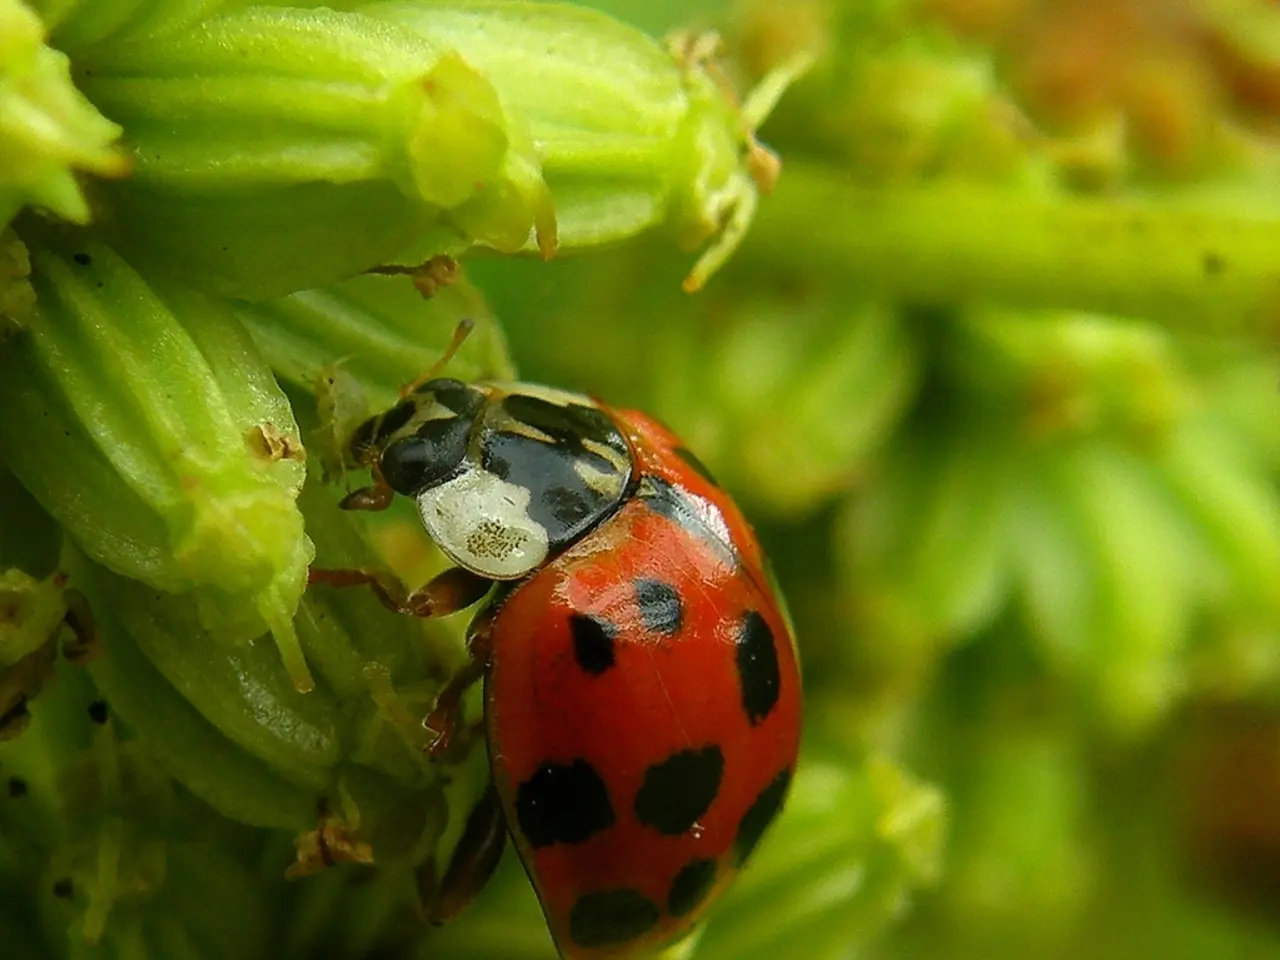
To illustrate the process, consider shooting a close-up of an insect on a leaf using Laowa 15mm f/4 on the Nikon Z8 at f/11 for balanced sharpness. After import, run DxO PureRAW to correct lens distortion and reduce noise. In Lightroom, increase clarity and contrast on the insect selectively, slightly darken the background to help the subject stand out, and enhance colours. Use Photoshop to remove any minor background distractions and retouch the insect’s details if necessary.
With these tips, you can capture stunning wide-angle close-ups that showcase both the subject’s intricate details and the surrounding environment, creating images that tell a compelling story.
5. Importance of ISO Setting
To strike the right balance between noise levels and camera responsiveness, use a low ISO value, such as 200 or 400, especially in shots where the scene is well-lit. In low-light conditions, you may need to increase the ISO, but be mindful to keep it below 800-1600 to minimize noise artifacts.
6. Techniques for Achieving Shallow Depth of Field
For those looking for a shallow depth of field, explore techniques like intentionally using a larger aperture setting (like f/2.8 or f/4) to achieve a shallow focus, or moving closer to the subject while keeping the aperture constant. This method isolates the subject from the background and draws attention to it, creating a stylistic look.
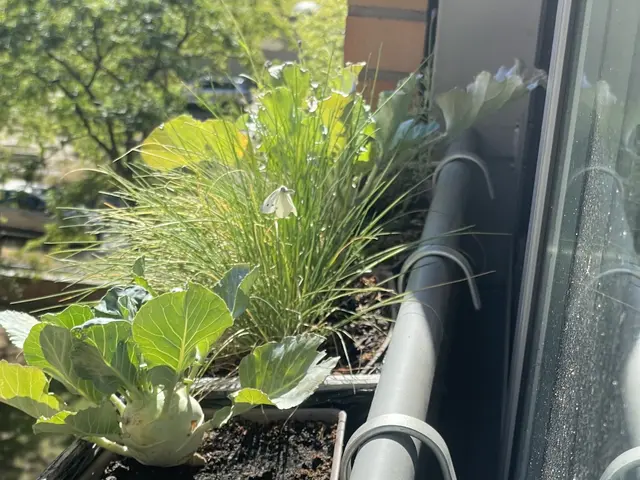
7. Photographing Lifestyle, Home-and-Garden Subjects with DSLR
Deploy DSLR cameras in low-key environments such as in lifestyle and home-and-garden photography. A kit lens would be suitable for durable home-and-garden shots, while a telephoto lens or macro lens, like the DX Nikkor 80-400mm or the Nikon Micro-NIKKOR 60mm, can bring the details of small subjects or far-away landscapes to life.
8. Exploring Video and Time-Lapse Techniques
Expand your photography skills by learning video and time-lapse techniques using your camera. Videos allow you to showcase movement, while time-lapse can compress long periods into short, engaging clips that highlight the passage of time. Utilize your camera's continuous autofocus and custom shooting modes to warm up before your shoot and garner better results.
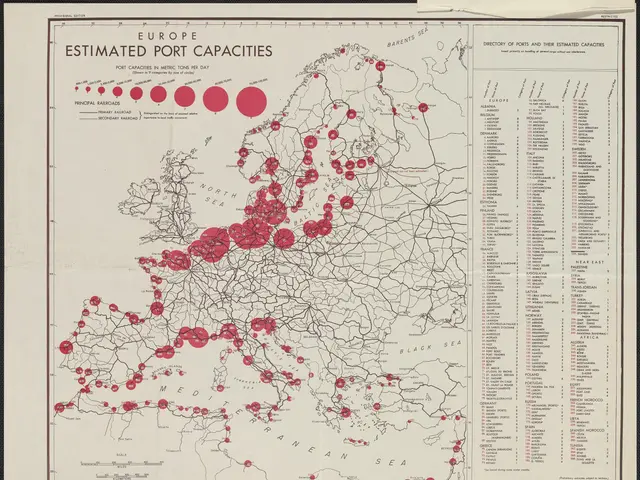
9. Macro Photography for News and Documentary Coverage
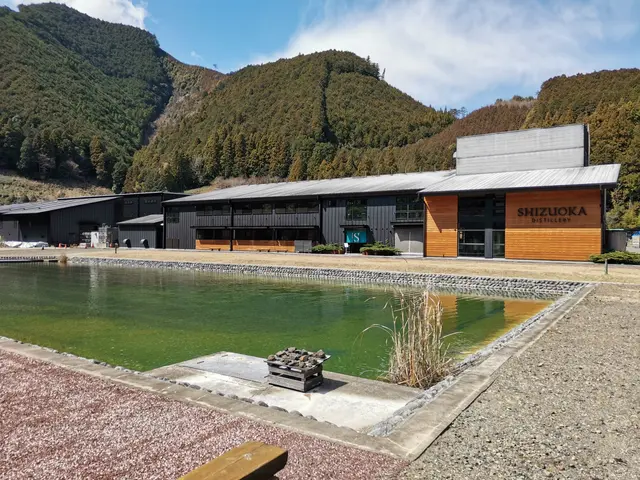
Some photojournalists might use macro photography in news and documentary projects to show small, yet significant details that help tell a complete story. For instance, emphasizing the quality or texture of a crop, or the symbolic aspects of a small artifact symbolizing a broader narrative, adding impact to your visual journalism work.
10. Reviewing and Editing Tips
Before publishing your work, take advantage of reviews and editing tips from fellow photographers or experienced educators found in online photography forums, tutorials, and workshops. Constructive feedback will enable you to improve your skills and post-production techniques, ultimately yielding better photographs with a marketable lifestyle and commercial appeal.

