Creating a bee watering station to aid pollinators in coping with hot weather; a kid-friendly DIY project
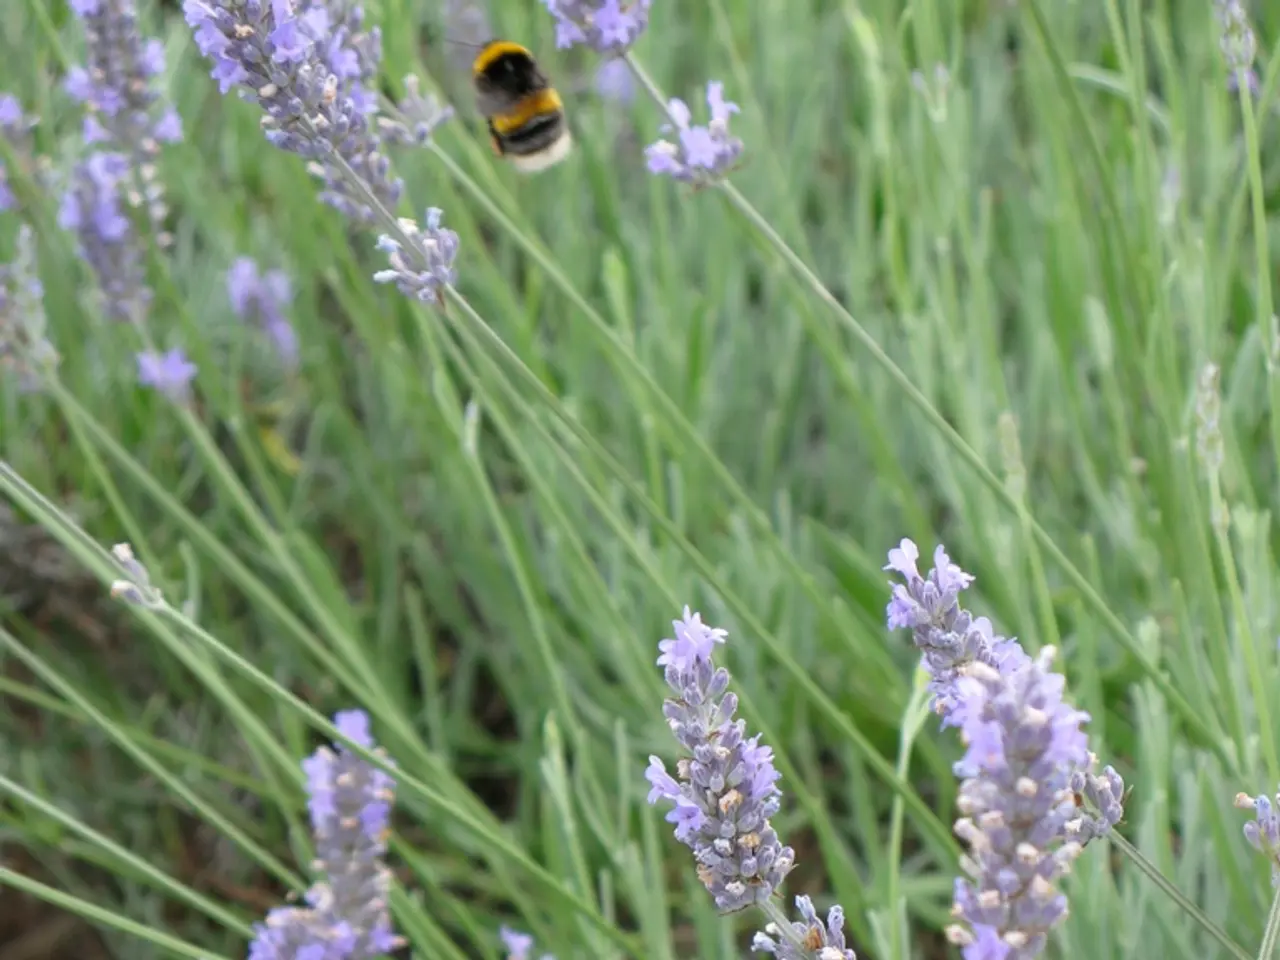
In the heart of summer, bees need our help more than ever. These hardworking pollinators require water for hydration, food production, and cooling their hives. Dr Emily Attlee, a conservation scientist and co-founder of Seedball, recommends creating bee hydration stations to support these essential creatures. Here's a straightforward guide on how to make a shallow, safe bee watering station using common household and garden materials.
Step 1: Select a shallow container Start by choosing a suitable container. A small baking pan, a plant saucer, or a shallow tray would work well. For added stability, pair a plant saucer with an upside-down plant pot.
Step 2: Add small stones or pebbles Next, add small stones, pebbles, or gravel to the container, ensuring they cover the base but leave small gaps or pools of water between them. These stones provide dry, secure perches for bees to stand on while drinking, preventing them from drowning.
Step 3: Fill with water Fill the container with water just enough to cover the bottom and fill the gaps between the stones without submerging their tops. This ensures bees can land safely and still access water.
Step 4: Use a mason jar drip method (optional) For a steady water source, fill a clean mason jar with fresh water or lightly sweetened water (white sugar only). Poke multiple tiny holes in the lid to allow slow dripping over a shallow saucer filled with stones. Alternatively, cover the jar top with cotton muslin secured by the lid ring for slow seepage. Add stones or twigs inside the saucer for bee perches.
Step 5: Place the watering station strategically Position the watering station near flowering plants or pollinator-friendly shrubs, preferably in partial shade to keep water cooler longer and to encourage bee visits.
Step 6: Maintain cleanliness and refill regularly Regularly top up the bee bath with fresh water during dry spells and clean it weekly to prevent algae or mosquito larvae.
With these simple steps, you can create a bee watering station using common items such as a shallow container, stones, mason jar (optional), twigs, and cork pieces. This DIY watering station supports bees by providing essential fresh water access in a safe and accessible manner.
Key materials you may gather from home/garden: - Shallow pan, baking dish, plant pot saucer - Small stones, gravel, pebbles - Mason jar and lid (optional) - Twigs or cork pieces for additional perching spots
By following this guide, you're not only helping bees but also contributing to the conservation of British wildflowers and wildlife. So, let's do our part in creating a bee-friendly garden this summer!
Ideas for building a bee-friendly watering station can be found using common household and garden materials like a shallow pan, baking dish, or plant pot saucer, small stones, gravel, pebbles, mason jar (optional), twigs, or cork pieces. Start by selecting a suitable container and adding small stones or pebbles, ensuring they cover the base but leave small gaps for water. Fill the container with water just enough to cover the bottom and fill the gaps between the stones. For a steady water source, consider the mason jar drip method, filling the jar with fresh or sweetened water and poking tiny holes in the lid for slow dripping. Place the watering station near flowering plants or pollinator-friendly shrubs in partial shade, and maintain cleanliness by regular refilling and weekly cleaning. By following this guide, you're not only helping bees but also contributing to the conservation of British wildflowers and wildlife, creating a bee-friendly garden this summer.


